 how-to
How to Organize a Small Storage Unit for Maximum Space
Last Updated: November 1, 2026
Quick Summary
To organize a small storage unit for maximum space, measure the unit first and subtract a 2-foot walkway and 1 foot of ceiling clearance to find your real usable capacity. Then plan an aisle before loading, stack heavy items low, and keep high-use boxes in the front two feet. A numbered box inventory and unit map keep it searchable.
- A small storage unit is roughly 25 to 50 square feet, from closet-sized up to a small one-bedroom.
- Estimate box count by dividing usable cubic feet by 1.5 for a standard moving box.
- A 5 by 10 unit with an 8-foot ceiling yields about 210 usable cubic feet and roughly 140 boxes.
- Place long-term and seasonal items on the back wall and high-use items in the front two feet.
- Number every box on the top and two opposite sides and photograph the open box before sealing.
Table of Contents
- Start With a Measured Plan for Your Small Storage Unit Layout
- Declutter and Sort Belongings Before You Pack a Single Box
- Storage Unit Packing Tips That Protect Your Belongings
- Load Heavy Items Low and Stack Boxes for Stable Storage
- How to Organize a Storage Unit for Easy Access
- Build a Storage Unit Inventory Checklist and Labeling System
- Rent a Unit That Fits Your Plan at Red D Stor
- Frequently Asked Questions
Start With a Measured Plan for Your Small Storage Unit Layout
The most common mistake we see is renters loading a unit before they have measured it. A small storage unit fills up faster than people expect, and once boxes are in, moving them is twice the work.
A small storage unit is a self-storage space of roughly 25 to 50 square feet, sized for a closet's worth of belongings up to a small one-bedroom apartment.
Map the Floor and Calculate Usable Capacity
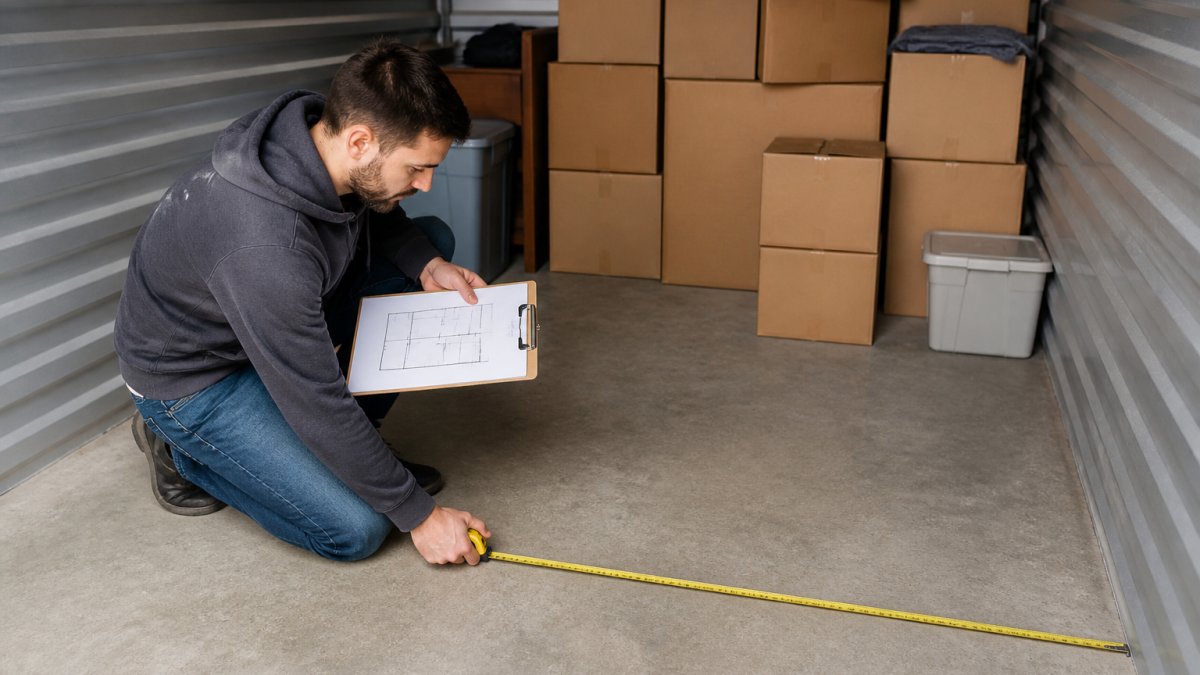
Measure the unit's length, width, and ceiling height before you pack anything. Write those numbers down. Then subtract the space you cannot use: door swing, ceiling clearance, and a walkway. What remains is your real capacity.
- Floor area: length x width gives total square feet
- Usable floor: subtract a 2-foot walkway strip
- Vertical capacity: ceiling height minus 1 foot for safe clearance
Here is a worked example for a 5-foot by 10-foot unit with an 8-foot ceiling:
- Total floor area: 5 x 10 = 50 square feet
- Subtract a 2-foot walkway running the 10-foot length: 2 x 10 = 20 square feet removed, leaving 30 usable square feet
- Usable volume: 30 square feet x 7 feet of usable height (8-foot ceiling minus 1 foot clearance) = 210 cubic feet
- Box estimate: 210 / 1.5 = about 140 standard moving boxes, before you account for furniture
That last number is the one people get wrong. Furniture, appliances, and odd-shaped items eat cubic feet fast. Large furniture such as a sofa can consume a significant share of a unit's cubic feet on its own, which is why a unit that looks empty on paper can fill up quickly.
Plan the Walkway and Main Aisle First
Draw the walkway before you draw the boxes. A 2-foot-wide aisle down the center or along one wall lets you reach items without climbing over furniture.
Sketch the unit on graph paper, one square per square foot, and mark the door swing. Then block in three zones:
- Back wall: long-term and seasonal items you will not touch for months
- Side walls: tall furniture and shelving, kept upright and against the structure
- Front two feet: high-use items you will grab on a normal visit
Leave the center or one long side open as the aisle. If your unit is 5 feet wide, a center aisle leaves only 1.5 feet of storage on each side, which is tight for furniture.
Match the Plan to the Unit Size Before You Sign
Compare your measured capacity against the size guide before you commit. Unit sizes vary in how much they hold, so compare your measured capacity against the sizes available when you reserve, and ask us for guidance on the right fit.
If your box count and furniture footprint push past the usable cubic feet of the size you reserved, you have two options: rent one size up, or cut the load. Cutting the load can help you avoid paying for space you do not need. Measure, calculate, and decide before the truck is loaded, not after.
Here are the planning figures the article uses to turn a small unit's measurements into a realistic box count.
| Item | Value | Note |
|---|---|---|
| Small storage unit size | 25 to 50 square feet | Closet's worth up to a small one-bedroom |
| Walkway strip | 2 feet | Subtracted from usable floor |
| Ceiling clearance | 1 foot | Subtracted from ceiling height |
| Box count estimate | Usable cubic feet divided by 1.5 | Standard moving box |
| Example unit | 5 by 10 feet, 8-foot ceiling | 50 total square feet |
| Example usable floor | 30 square feet | After 20 square feet walkway removed |
| Example usable volume | 210 cubic feet | 30 square feet x 7 feet |
| Example box estimate | About 140 boxes | Before accounting for furniture |
Declutter and Sort Belongings Before You Pack a Single Box
Sorting first saves more space than any packing trick. Every item you donate or sell is one less box taking up floor space in a unit you are paying for.
Work through belongings in three passes:
- Keep: items you will use or want within the next year
- Donate or sell: anything unused for 12 months
- Discard: broken, expired, or damaged items
Then group the keep pile into categories: seasonal clothing, kitchen items, furniture, tools, and keepsakes. Categorizing items now means you can pack similar things together and label by group later.
Storage Unit Packing Tips That Protect Your Belongings
Good packing protects items and makes the unit easier to load. These storage unit packing tips focus on the materials and conditions that cause the most damage.
Boxes, Tape, and Dust Protection
Use sturdy, uniform-sized boxes. Same-size boxes stack flat and waste less vertical space than a mix of odd shapes.
- Packing tape: seal all seams, top and bottom
- Dust protection: cover box stacks with a plastic drop cloth
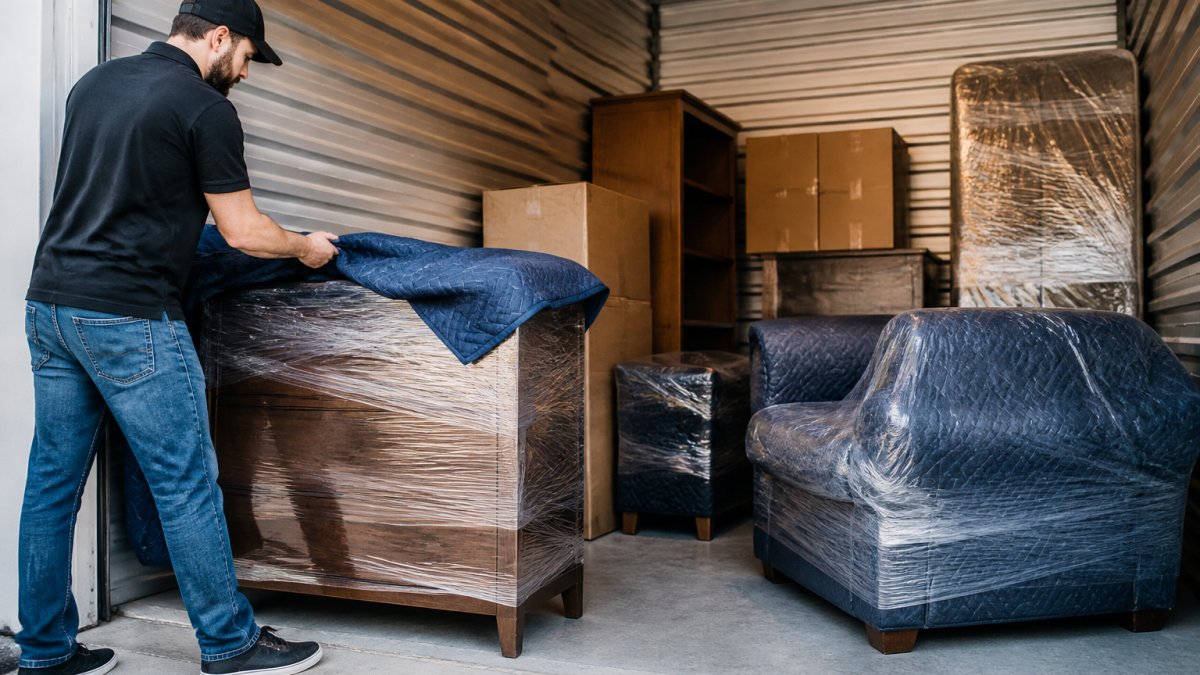
- Furniture: wrap in moving blankets or stretch wrap
Label every box on the top and one side. That way you can read it whether it is stacked or facing out. For bulky pieces, follow a step-by-step method for packing furniture for storage so drawers, legs, and frames stay protected.
Moisture, Temperature, and Pests
Moisture is the quiet destroyer in any storage unit. Keep boxes off the concrete floor by placing them on pallets or shelving.
- Store fabric and paper in sealed plastic bins, not cardboard
- Avoid stacking items directly against exterior walls
- Skip anything perishable or food-based, which attracts pests
For more detail on protecting delicate pieces, see how to store furniture safely without damage. If you are storing heirlooms or valuable furniture, ask about the storage options available when you reserve.
Load Heavy Items Low and Stack Boxes for Stable Storage
Weight distribution decides whether your stack stays put. Put heavy items on the bottom, lighter boxes on top, and never stack a heavy box above shoulder height.
Follow a loading order that builds from the back wall forward:
- Place large furniture and heavy bins against the back and side walls
- Stack boxes in columns, keeping each column the same height
- Keep stacks below the ceiling line for air flow and safety
- Store furniture upright where practical, never on its side
Fill gaps between stacks with small items or baskets. Stable stacking means no leaning towers, and no shifting when you open the door months later.
How to Organize a Storage Unit for Easy Access
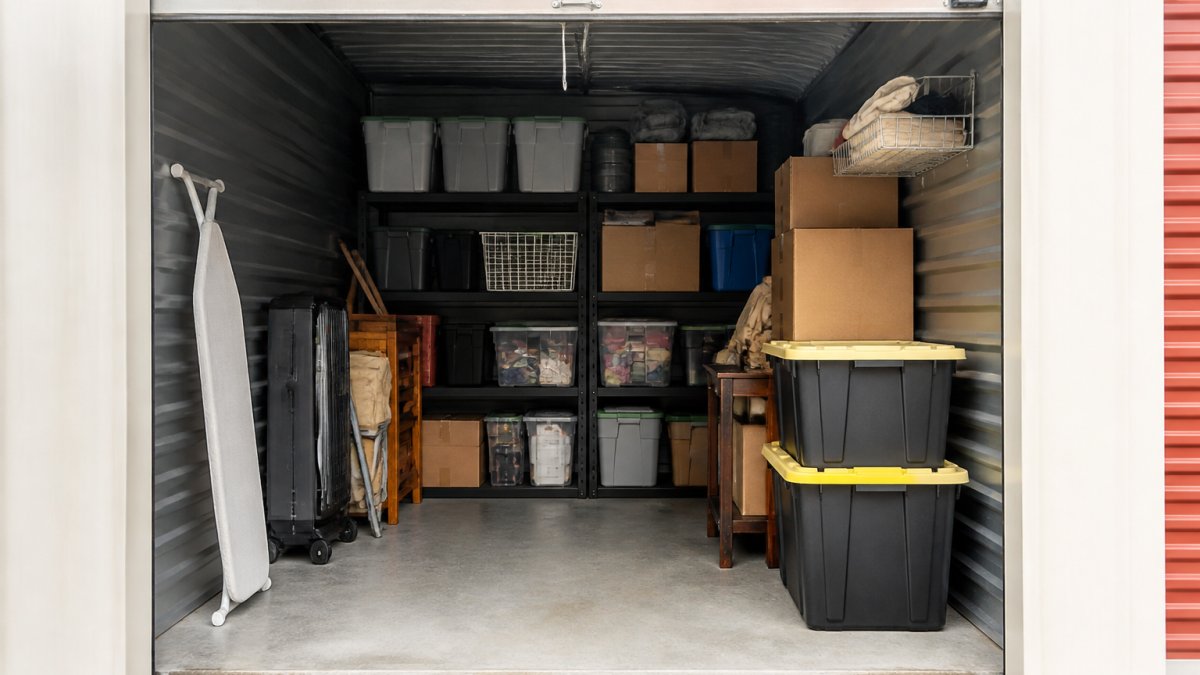
Easy access comes from planning retrieval, not just storage. Place frequently accessed items near the front of the unit, and push seasonal or long-term items to the back.
Build a personal main aisle and keep it clear. Reserve the first two feet inside the door for the items you will grab most: tools, seasonal gear, or business supplies.
Vertical shelving can help here, turning unused height into usable storage and keeping boxes off the floor.
Build a Storage Unit Inventory Checklist and Labeling System
A storage unit inventory checklist is a written or digital list of every box and item in the unit, matched to a label number. Without one, finding a single item means unpacking half the unit. A searchable system goes further: it tells you not just what is in a box, but where the box sits and how to reach it without moving anything else.
Number, Photograph, and Record Every Box
Set up the system before the first box goes on the truck, not after. The workflow is simple and takes about a minute per box:
- Number every box (1, 2, 3...) and write the number on the top and two opposite sides
- Photograph the open box before you seal it, so the photo shows the actual contents
- List contents by box number in a notes app or spreadsheet
A spreadsheet with columns for box number, contents, category, access level, and location is enough. If you prefer an app, any note-taking or inventory app that syncs across devices works; the tool matters less than the habit of updating it as you load.
Build a Unit Map That Matches the Floor Plan
Your inventory is only useful if it points to a location. Use the floor plan you drew during planning and label each zone with the box numbers stored there. A simple grid works:
- Zone A (back wall): boxes 1-20, long-term and seasonal
- Zone B (left wall): boxes 21-40, furniture and heavy bins
- Zone C (front two feet): boxes 41-50, high-use items
When you need the winter coats, you check the list, see they are in box 14 in Zone A, walk to the back wall, and pull one box. No unpacking, no guessing, no shifting stacks you cannot rebuild.
Set Retrieval Rules So the System Survives the Year
Organization decays when retrieval is ad hoc. A few rules keep the unit searchable over time:
- Put high-use items in the front two feet and never bury them behind long-term storage
- When you remove a box, mark it as checked out on the list and note the date
- When you return a box, put it back in its mapped zone, not the first open gap
Clear labels plus a box inventory turn a small unit into a searchable space. The difference between a labeled unit and an inventoried unit is the difference between knowing a box exists and knowing exactly where it is and whether it is worth the trip.
Rent a Unit That Fits Your Plan at Red D Stor
Once your floor plan and box count are set, the last step is matching them to a unit. At Red D Stor, we offer a simple, flexible rental process and a secure facility, so you can store household items, business inventory, or equipment without a hassle.
We keep the process clear and straightforward. If you want a walkthrough first, read our practical guide to renting small storage units locally, or review the storage unit rental process steps before you sign up.
Frequently Asked Questions
What should go in the back of a small storage unit?
Put the items you will not need for months in the back: holiday decorations, archived records, off-season clothing, and furniture you are keeping for a future move. These go in first so they never block the door. Keep frequently accessed items near the front of the unit along your main aisle. Before you load anything, write down what goes where on your inventory checklist so a future trip does not turn into a full excavation.
Should you use shelves in a storage unit?
Yes, when the unit has the height for them. Shelving can let you stack boxes above floor level, which keeps them off cold concrete and leaves the floor clear for furniture. Leave at least a narrow gap behind the shelves so air can move and you can check for moisture. Shelves also make retrieval easier because you can see labels at eye level.
How do you keep track of items in a storage unit?
Use a numbered box system and a written or digital inventory checklist. Number every box, write the room it came from and a short contents list on two sides, then log it in a spreadsheet or notebook. Add a photo of the open box if you want a visual record. Keep the checklist on your phone so you can check before driving to the unit. A simple box inventory turns a twenty-minute search into a two-minute grab.
What should you not store in a small storage unit?
Skip anything that spoils, leaks, or attracts pests. That means no food, no opened liquids, no propane tanks or gasoline, and no live plants. Check the facility's rules for hazardous chemicals and flammable items before you store them. For valuables, family heirlooms, and documents, ask about climate control and insurance coverage before you sign. If you are storing furniture, clean it first and dry it fully. Damp upholstery in a closed unit is the fastest route to mildew.
Ready to put your plan into action? Red D Stor gives you secure storage, a convenient location, and straightforward communication from your first call. Get started with Red D Stor and reserve a unit sized to your belongings.